
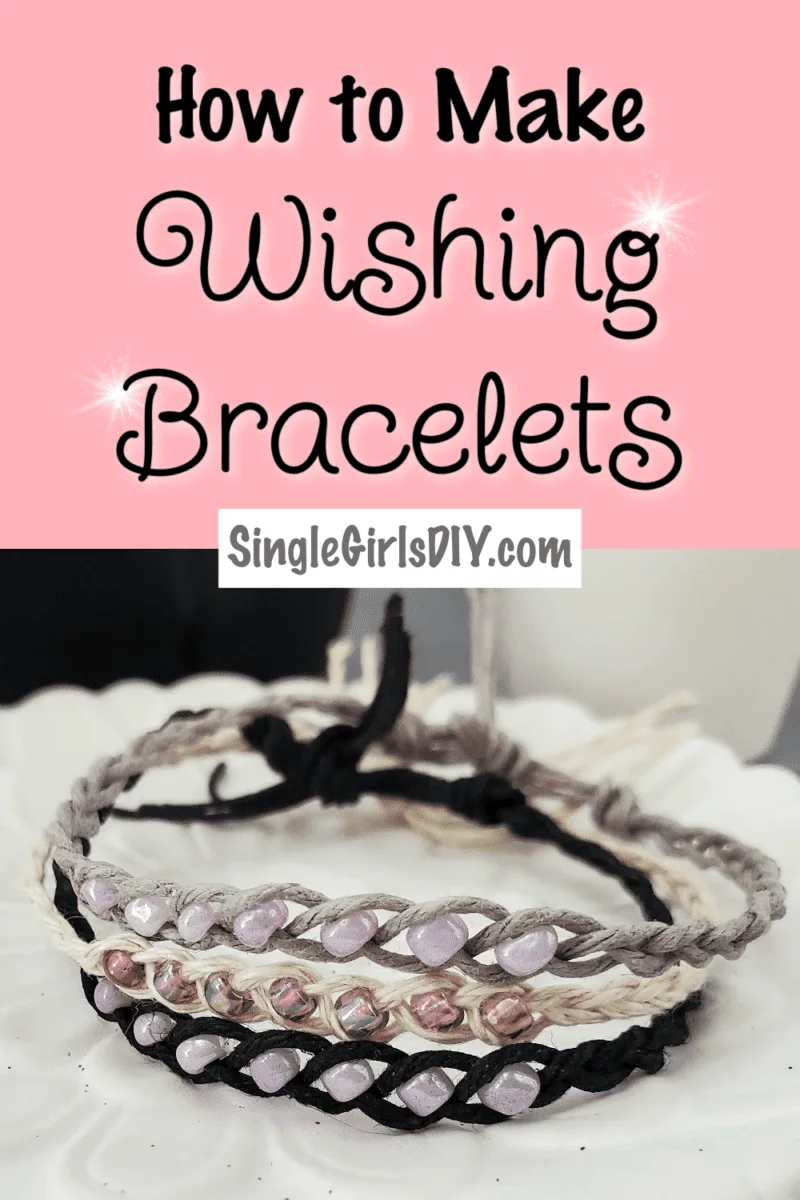
Have you seen wish bracelets for sale in shops but didn’t like the price? Our easy DIY tutorial shows you how to make a wish bracelet to give to friends and family as a gift at a fraction of the price!
Making wish bracelets is actually very easy. All you need to do is braid cord and add beads.
You can easily make several of these wishing bracelets in 30 minutes or less!
These bracelets are a perfect craft to make and sell at craft fairs, fundraisers and online shops.
Our wish bracelets DIY project is also great for group crafting, such as at camps, birthday parties or crafting bees.
Be sure to see our other DIY bracelets:
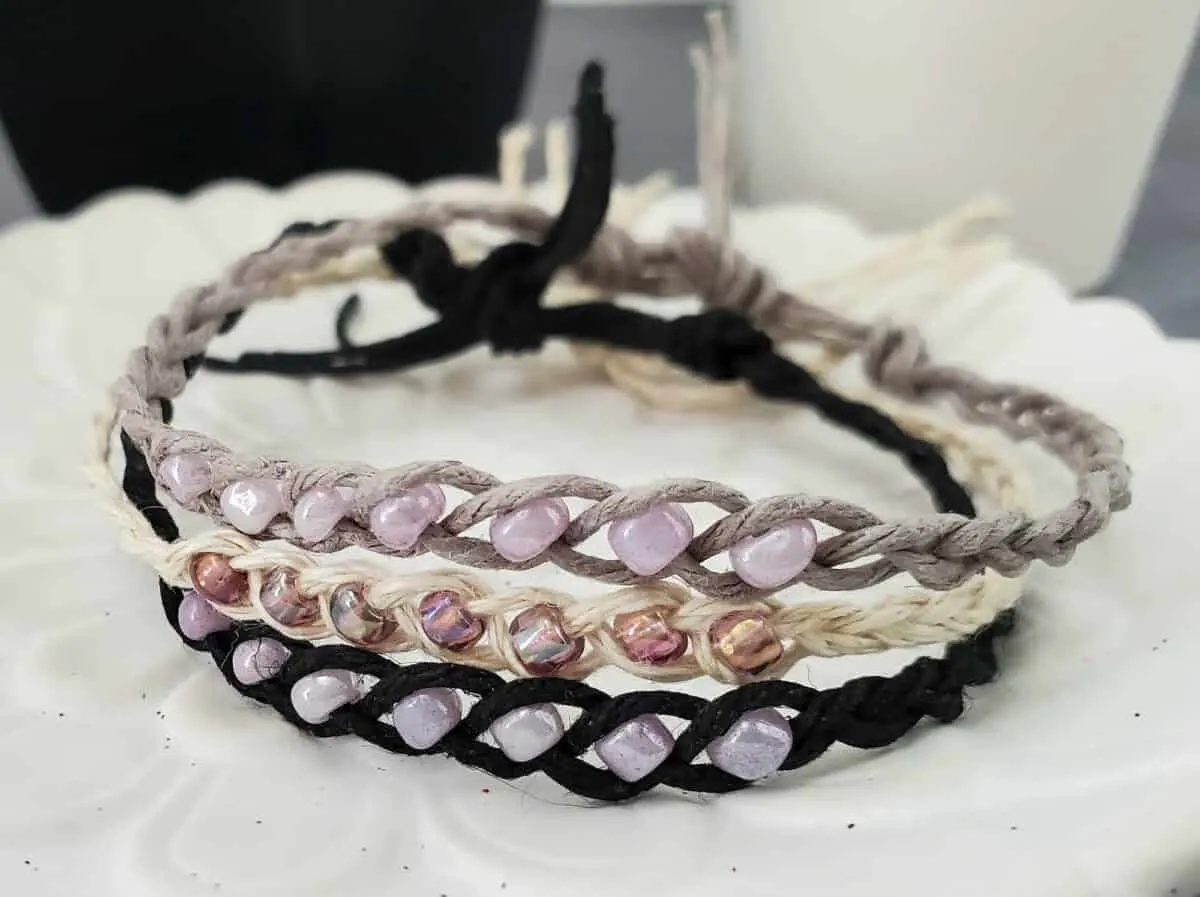
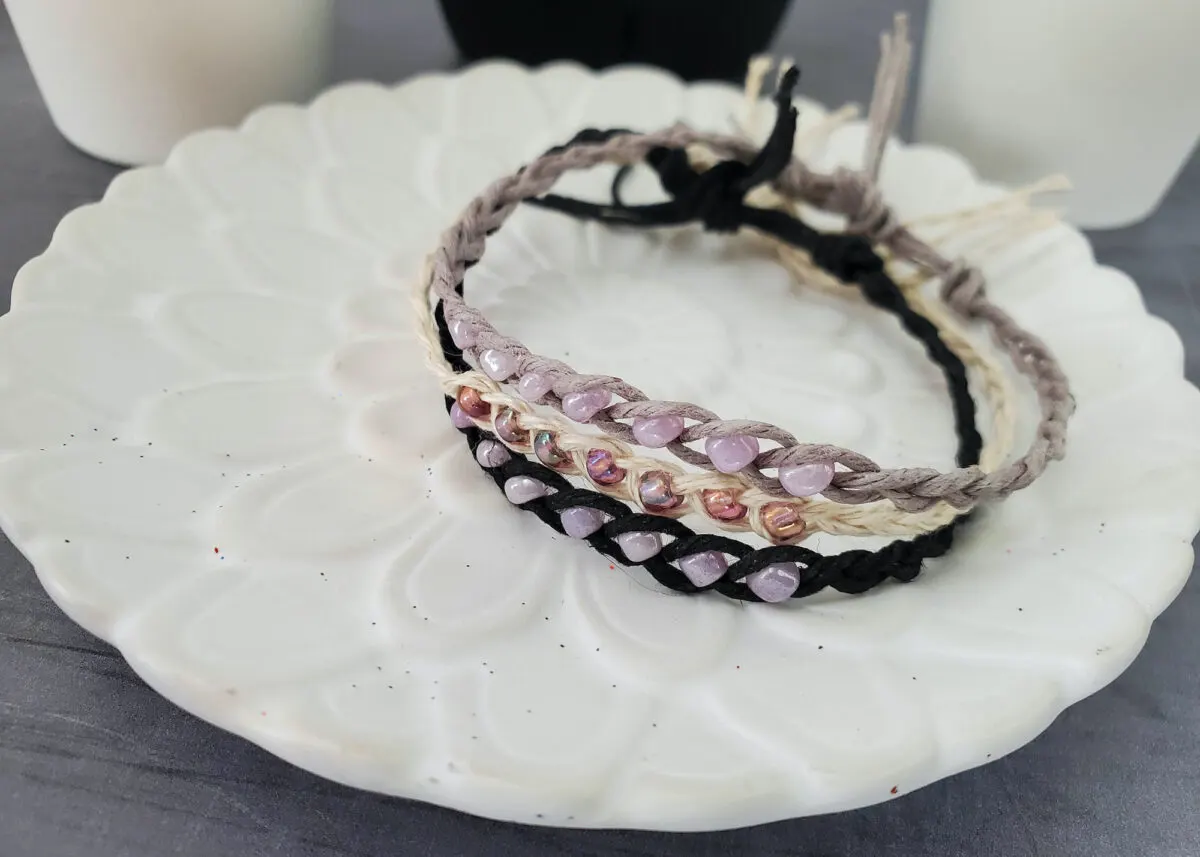
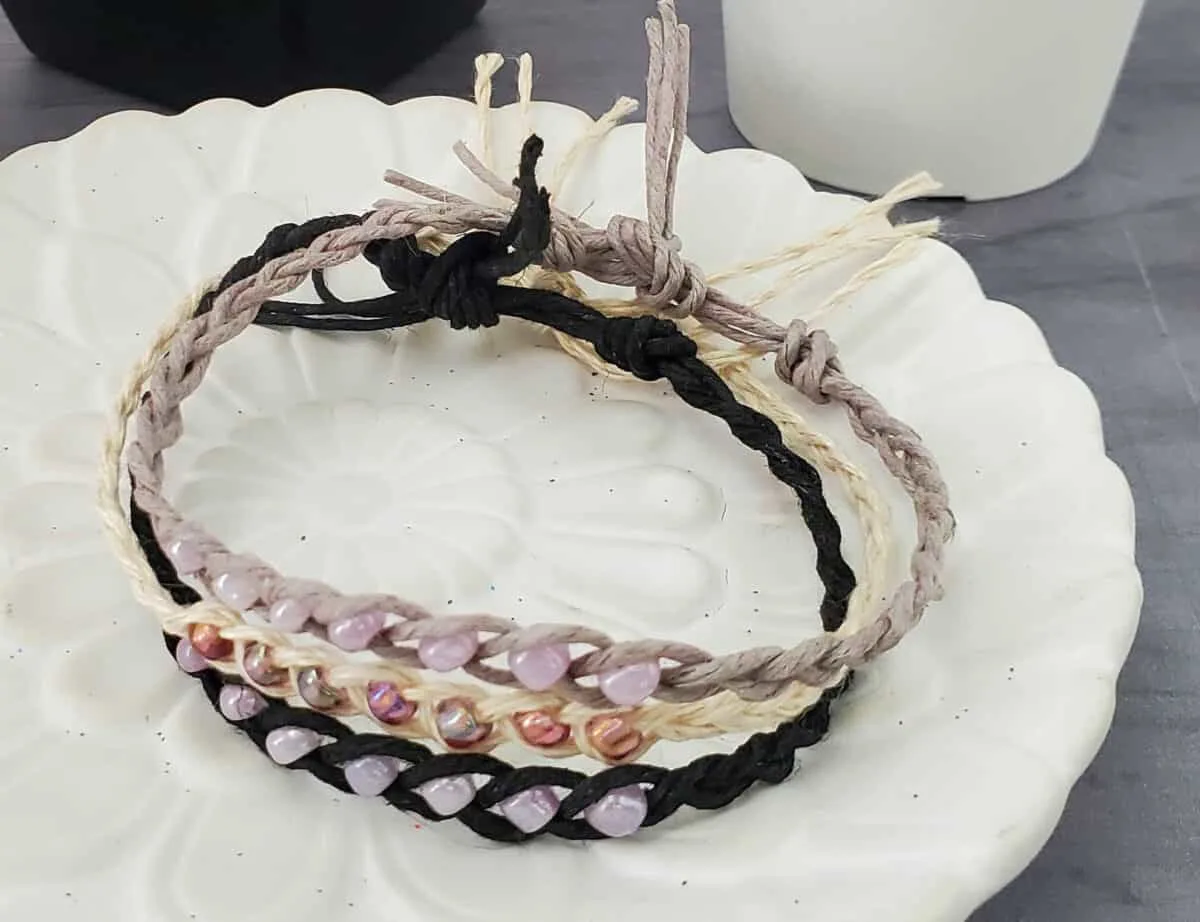
Wish bracelets are made of hemp cord, which will slowly decompose over time and eventually fall off. You want to use a biodegradable cord that will wear out over time because your wishes are said to come true when the bracelet falls off.
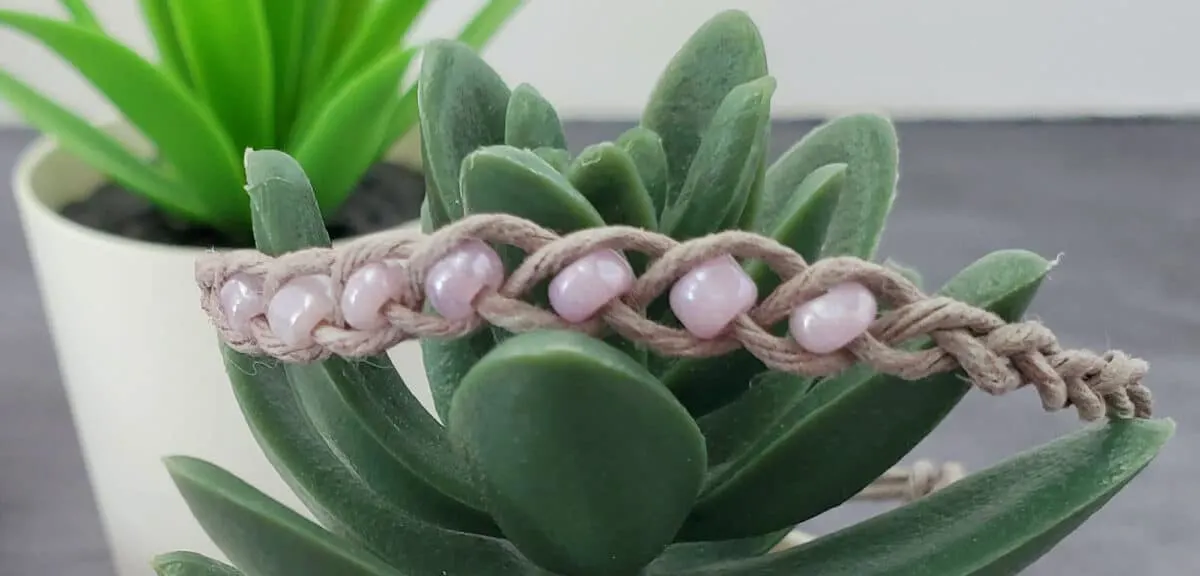
Beads are also used in a wishing bracelet. The beads represent the wishes that you are hoping for.
See how easy it is to make a clay jewelry dish.
Wondering how does a wish bracelet work? These are the wish bracelet rules:
Wrap the beaded bracelet around your wrist, leaving a little bit of room for it to fit comfortably but snug.
Tie a double knot with the ends the bracelet. Pull the knot tightly, but make sure you don’t make the bracelet too tight around your wrist.
This tutorial makes one bracelet.
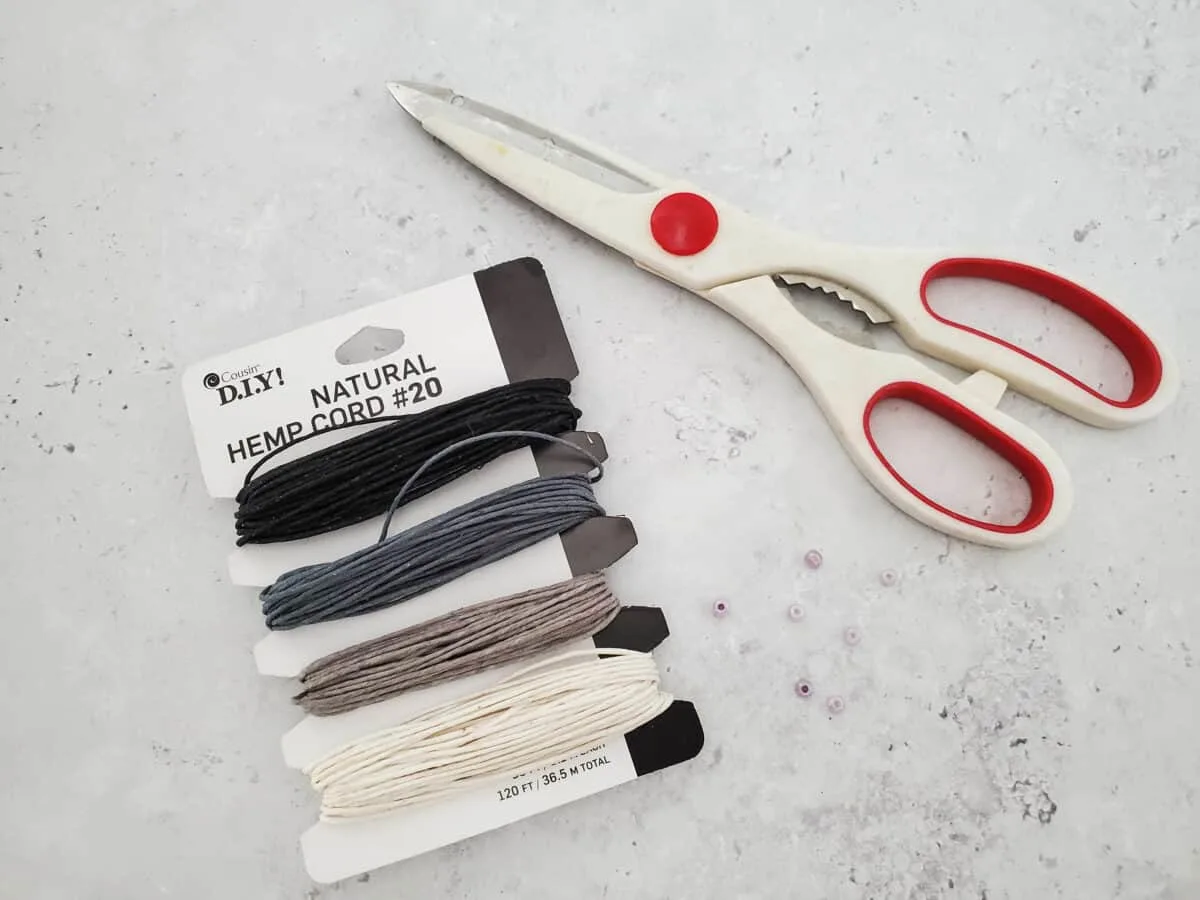
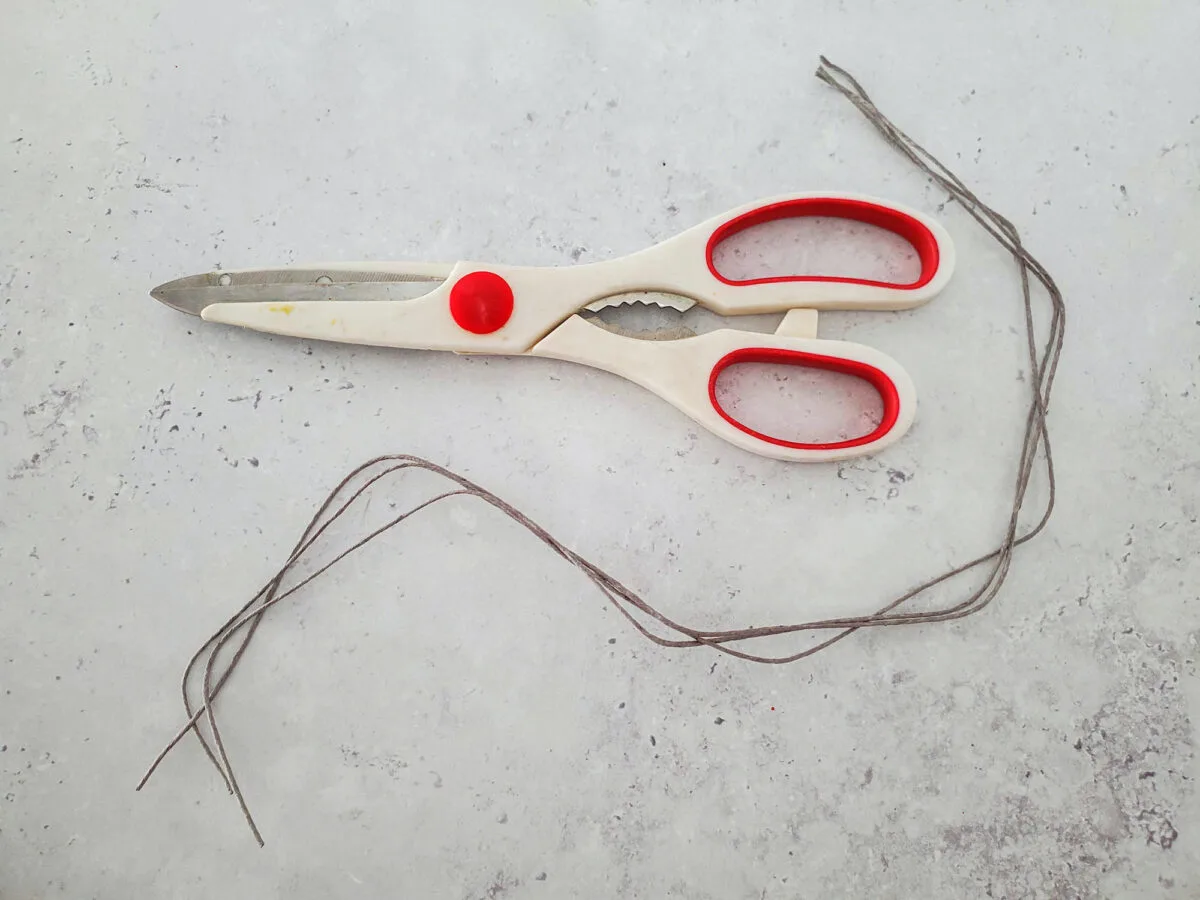
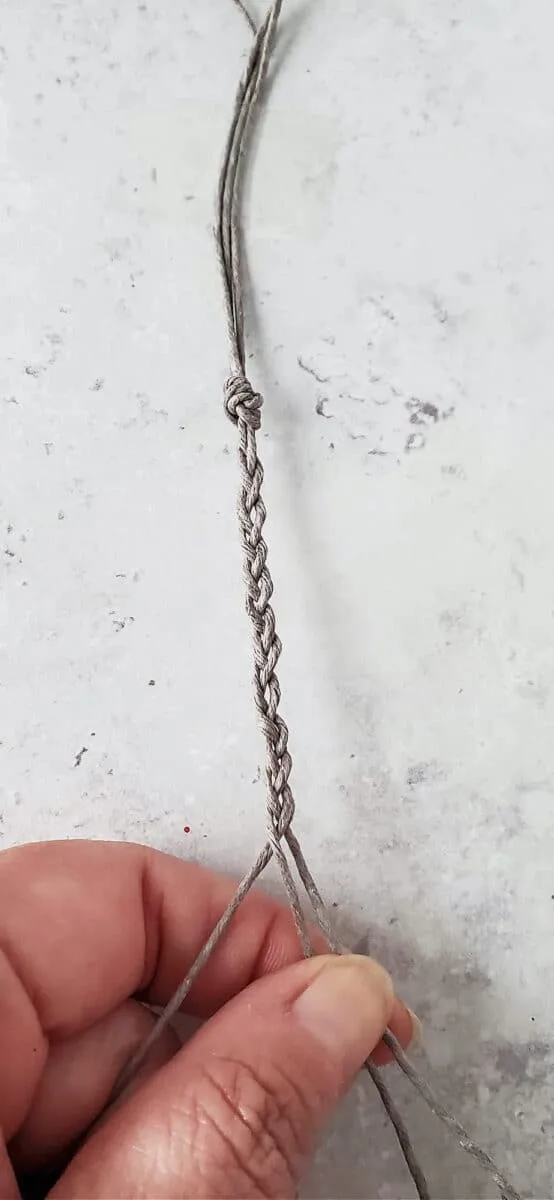
Cut 3 pieces of hemp cord in 15″ lengths.
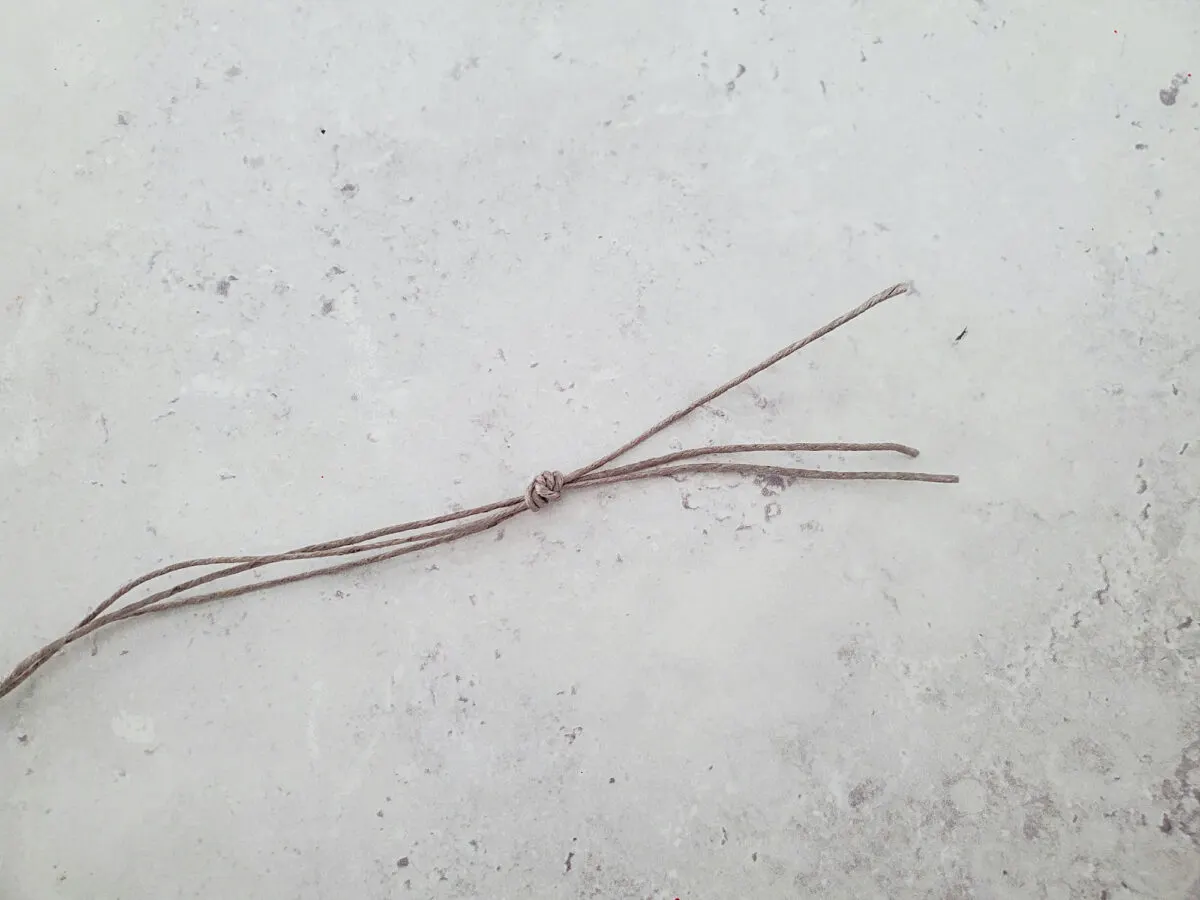
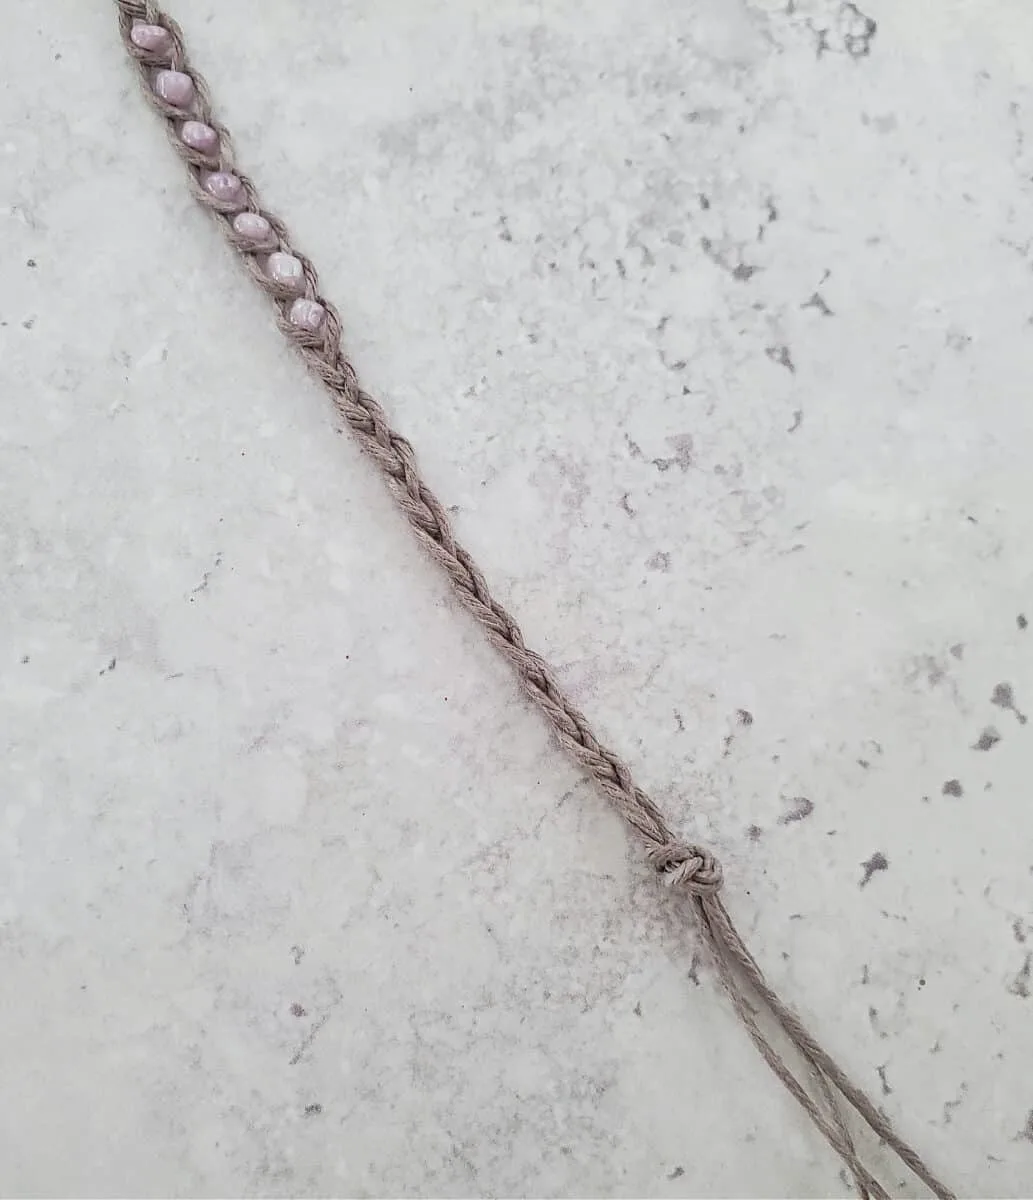
Gather the ends of the 3 pieces of cord together and make a double knot. Leave about 2-3 inches of extra cord at the end.
Braid the 3 cords together for around 2 1/2 inches.
Add a bead to the cord on the right, then bring it over the middle cord. Bring the left cord over, under the bead. See the pictures below for a photo tutorial.
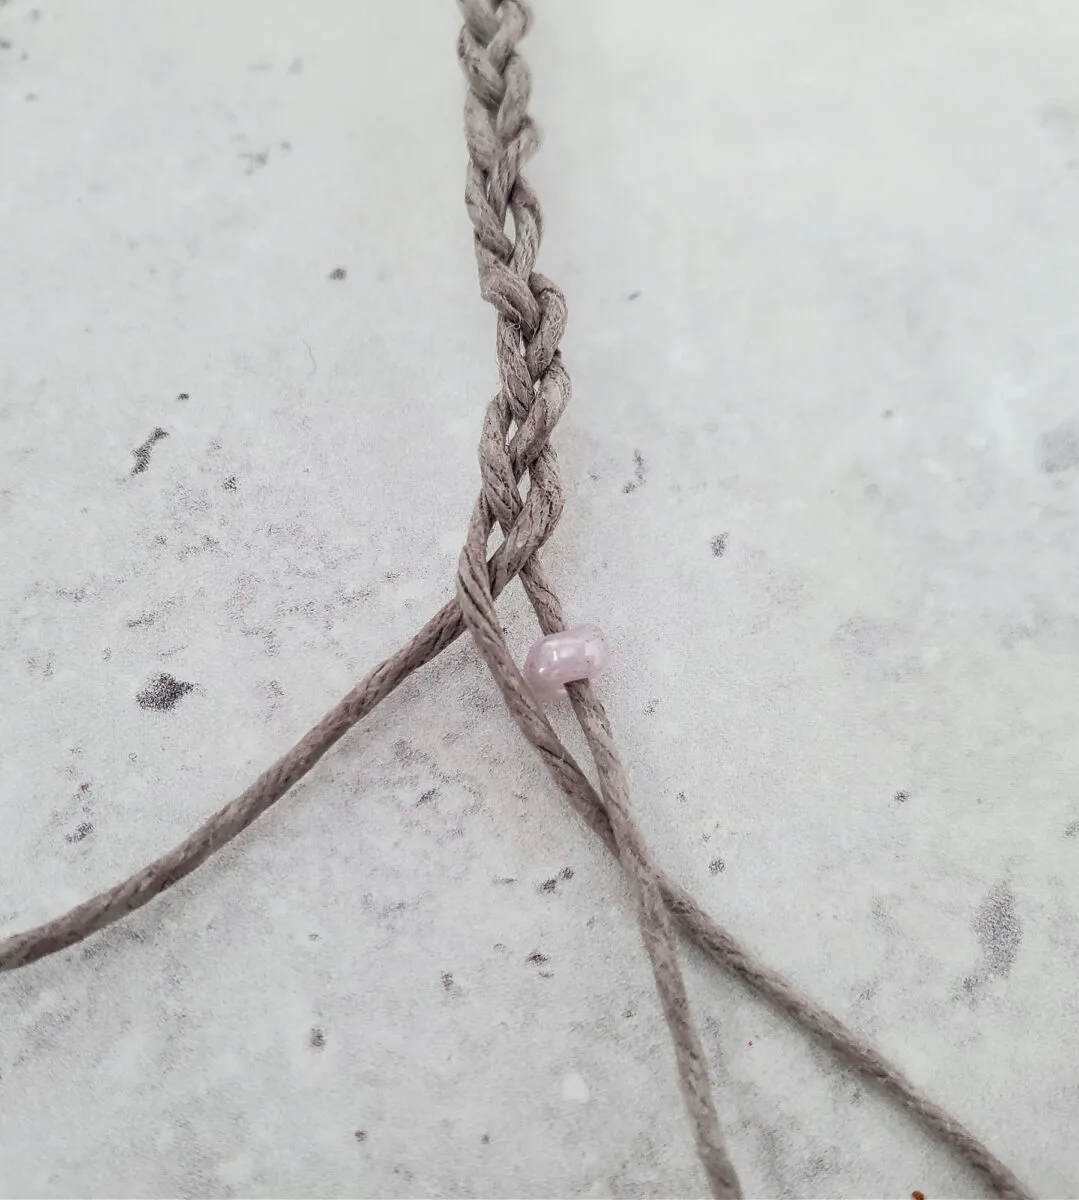
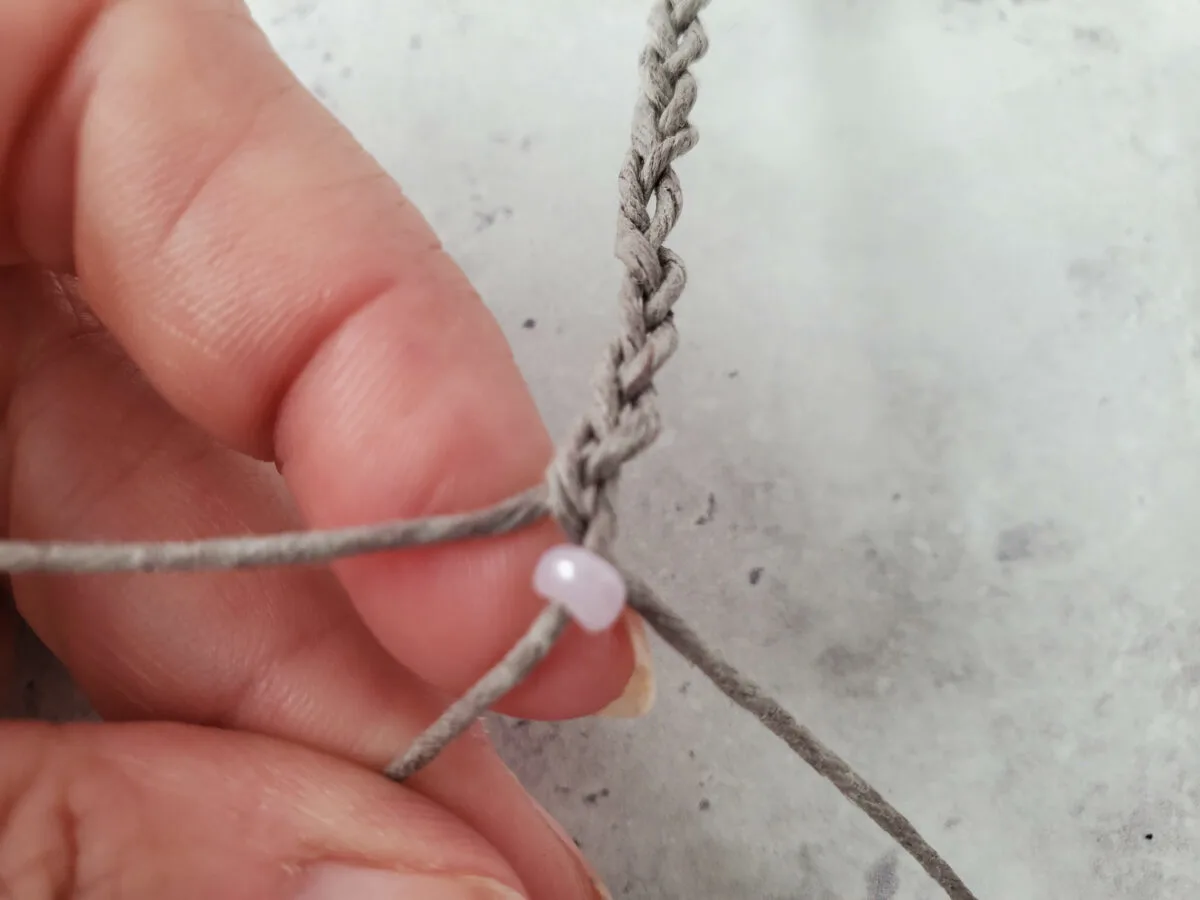
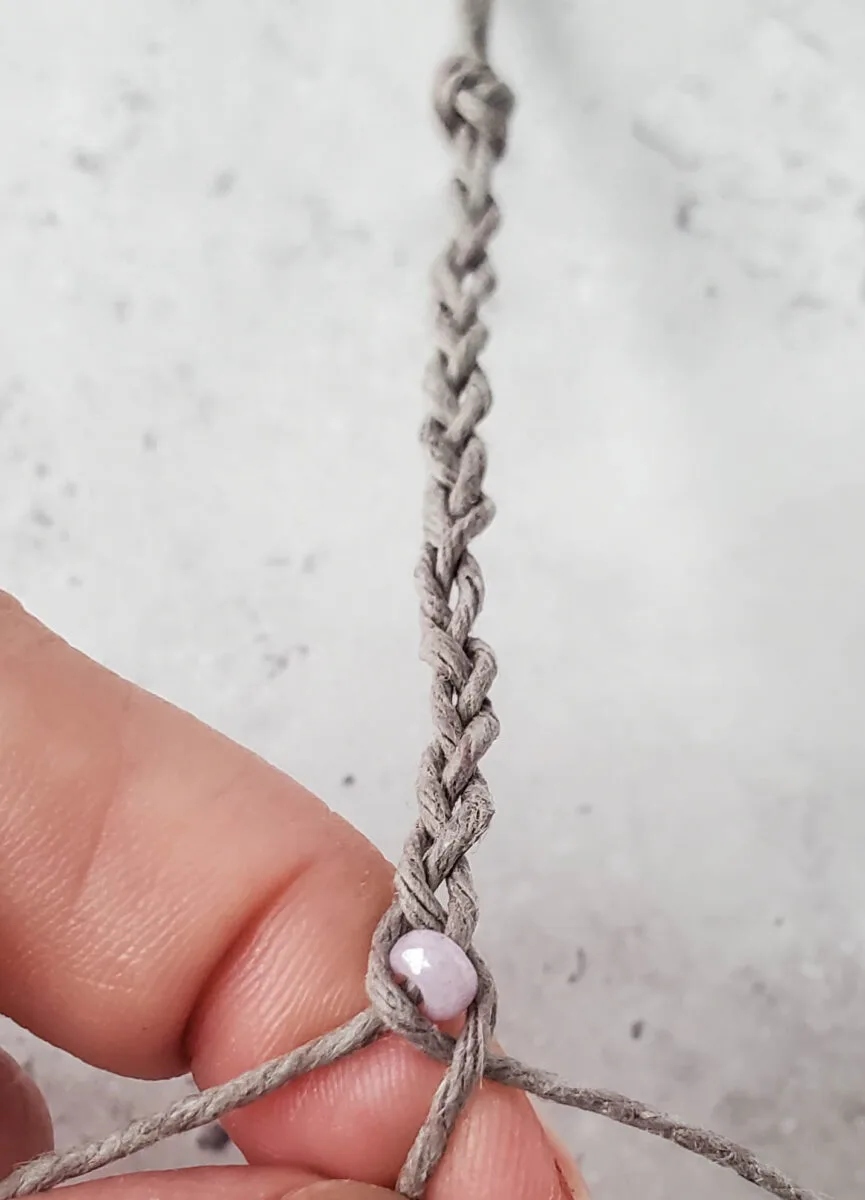
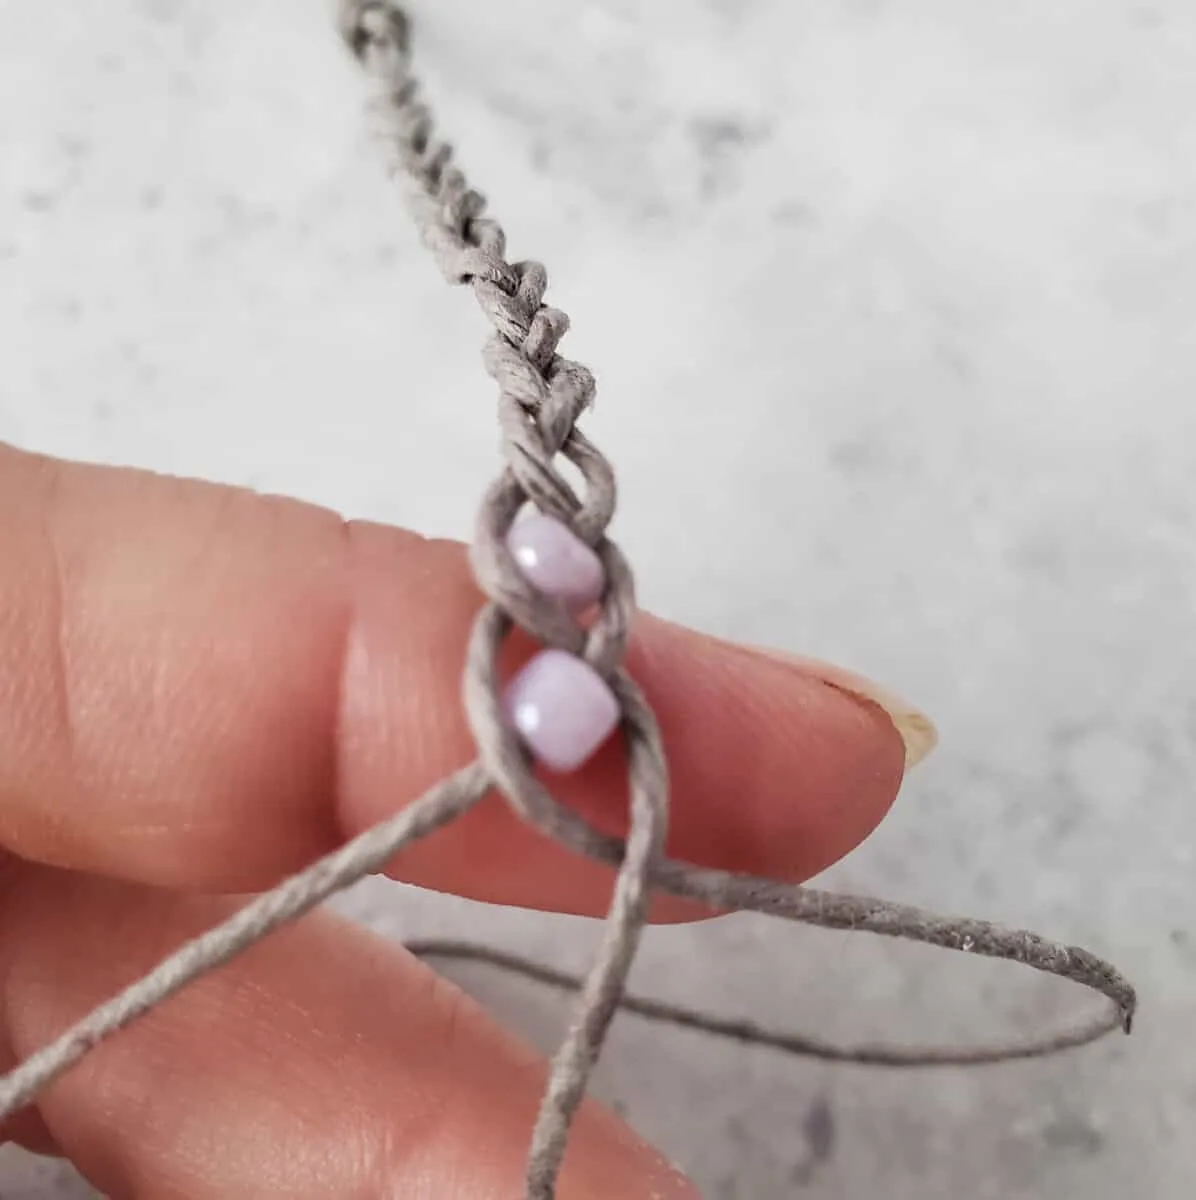
Repeat this step above until all seven beads have been added.
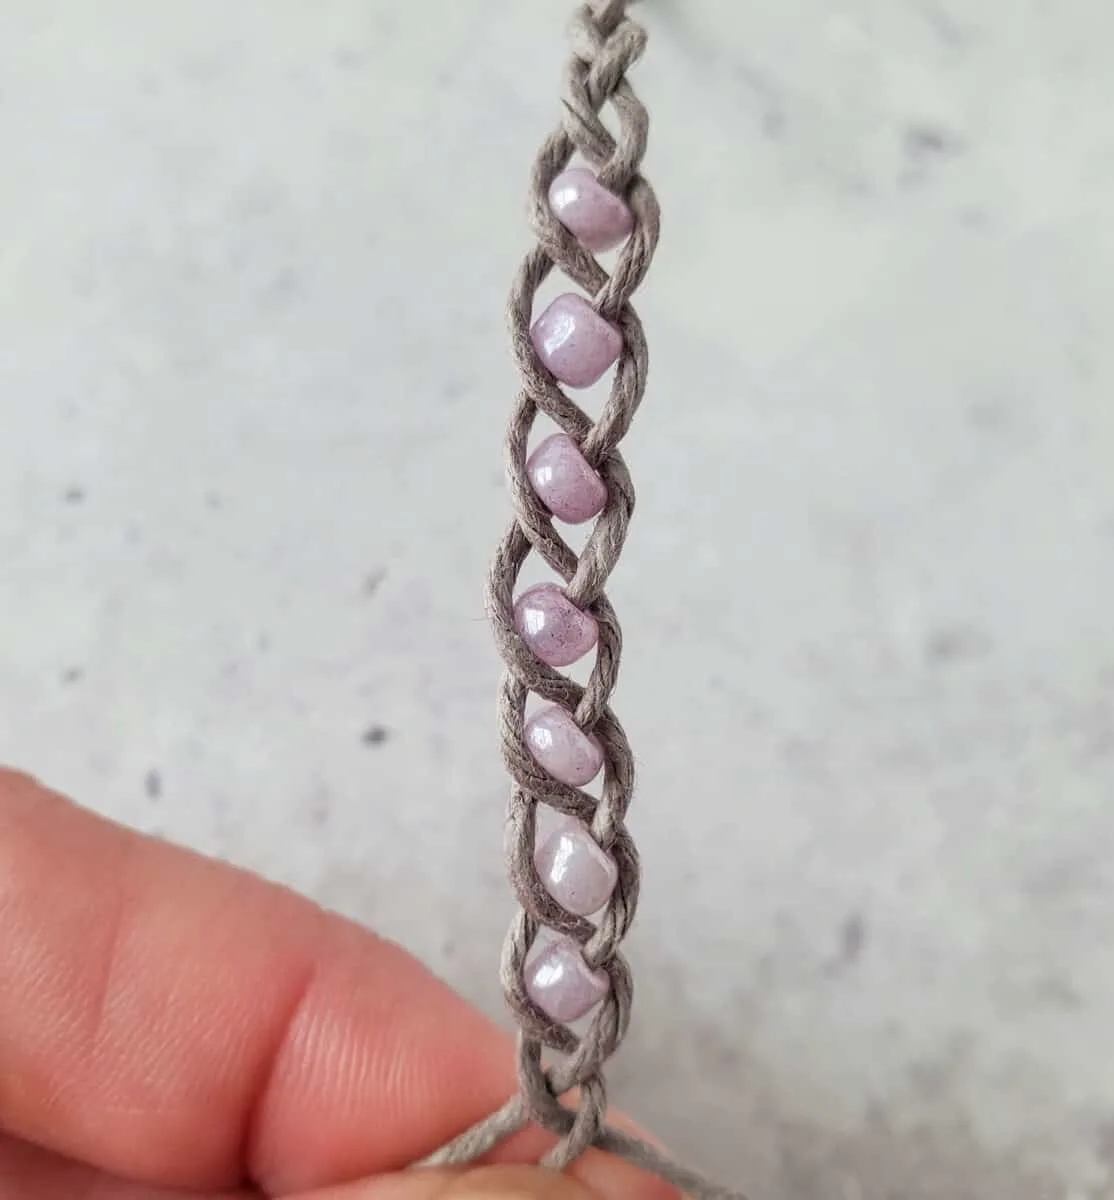
After adding all of the beads, continue braiding the three cords together for another 2 1/2 inches, then add a double knot at the end.
Now you know how easy it is to make a wish bracelet! Make several for yourself or your friends to make your wishes coming true!
Save this idea for later by Pinning It to a craft board!
Want to keep your jewelry neat and organized? Our DIY Jewelry Organizer uses Dollar Tree supplies and is so easy to make!

Have our free weekly newsletters with the best tips, new home improvement projects and easy crafts sent to you!
I'm so glad you joined us!